Trending

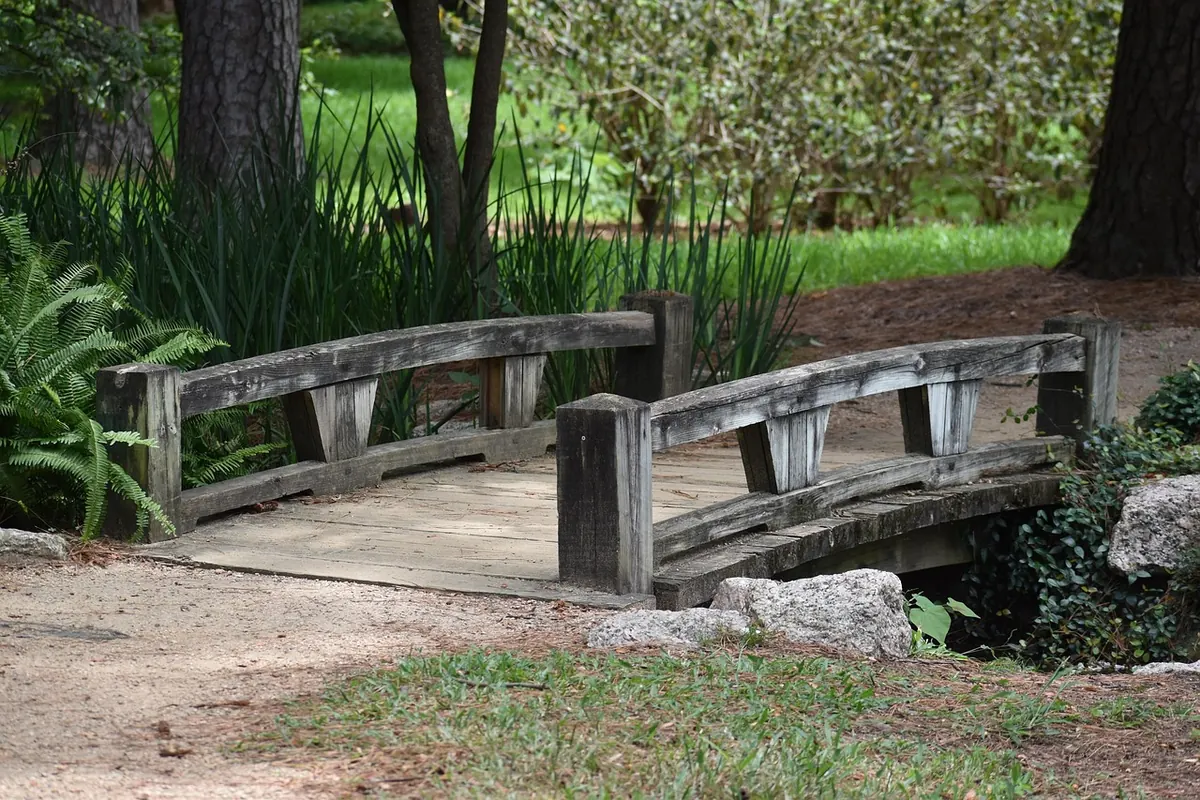
A small footbridge does something no path can: it turns a wet, awkward gap into an easy route you take without thinking. Two metres of timber over a ditch can change how the whole garden works. It also has a way of showing every mistake, because a bridge that bounces, ponds water after rain, or wobbles at the handrail is worse than the muddy crossing it replaced.
The good news is that a garden footbridge of two to four metres is well within reach of a careful beginner with basic tools. What matters is the order of the work. Measure the gap before you buy timber. Watch where water goes before you dig. Settle the railing and the deck details before the first board goes down.
The single most common beginner error is measuring the gap between the banks and ordering beams that length. Beams need to sit on something. The clear span is the open distance between firm ground; the beam length is the clear span plus a bearing of at least 300 mm at each end, more on soft ground. A 2.8 m gap with 350 mm bearings each side means beams of 3.5 m, so you buy 3.6 m stock and cut back.
Measure at deck level, not at ground level. Banks are usually sloped, and the distance between them at the top is often shorter than at the bottom. Take three measurements across the gap, note the shortest, and treat that as your span. Then check for square: measure both diagonals between the four corners of your intended opening. If they differ by more than about 20 mm, the banks are not parallel and your frame needs adjusting.
Walk the site in heavy rain if you can, or straight after it. You want to see the width of the flow, how fast it moves, and where it pools. Silt lines on grass, flattened stems and debris caught in a hedge all mark the high-water level, and that level decides how much clearance to leave under the deck.
Give the underside generous room. A bridge that sits close to the water in normal conditions will be blocked in a storm, and anything spanning a channel can collect branches and start acting as a dam. A single clear span with no posts in the middle of the channel avoids most of that trouble. If the crossing is very wide, two shorter spans with a central pier sound tempting, but that pier becomes a debris trap.
Ground conditions matter as much as the water. Soft clay, sand, and ground that has been filled and not compacted will all settle. Spread the load with timber sleepers or small concrete pads under each beam end, set below the surface, and keep timber clear of direct soil contact. Frost heave lifts shallow footings in cold winters, so go deeper than the topsoil layer.
Finally, think about the path on each side. Water running down an approach path will arrive at the bridge ends and sit there. A slight camber on the path, a shallow drainage channel, or a gravel apron keeps the deck ends dry and stops mud being walked onto the boards.
Timber is the default for a reason: it is light enough to handle alone, easy to cut and fix, and it looks right in a garden. Pressure-treated softwood works for the structure, with a hardwood or composite surface if you want a longer deck life. Oak is strong and durable but heavy, so plan how you will lift it into place before you order it.
Fixings deserve more attention than most beginners give them. Use stainless steel or hot-dip galvanised screws and bolts, sized for treated timber, and do not mix metals in a way that encourages corrosion. A bridge is a damp environment by definition; cheap fixings are the first thing to fail.
Spend your money where you cannot reach later: the main beams, the posts, and the fixings that hold the railing. Decking boards can be replaced in a weekend; a rotten beam means dismantling the bridge.
Fit a railing wherever the deck is more than a low step above the ground, and always over water. Height guidance varies by country and by what the bridge serves, but domestic balustrades commonly sit around a metre, often a little more, measured from the deck surface. Check your local building rules before you cut the posts, especially if the crossing is on a public path or near a regulated watercourse.
The gaps matter as much as the height. A simple test used in many regulations is that a 100 mm sphere should not pass through any opening; if a small head can fit, the gap is wrong. Vertical balusters are safer than horizontal rails, which children treat as a ladder. The top rail should be comfortable to grip, roughly 40 to 50 mm across, and fixed with bolts that pass through the post rather than screws into the end grain.
Three other details are worth getting right. Fix posts to the frame, not just to the decking. Avoid raised thresholds at either end, which are a trip hazard in exactly the place people look at their feet. And add grip strips or a texture to the deck, particularly where the approach slopes and the boards stay damp.
A 900 mm wide deck feels comfortable for one person; 1.2 m lets two people pass or a wheelbarrow cross without scraping knuckles. Go straight across where you can. A square crossing gives the shortest span and the simplest frame, while a skewed bridge costs more beam for the same gap and complicates every joint.
Decide early between a level deck, a slight camber, and a gentle arch. A small camber sheds water and looks purposeful; a true arch needs curved beams or laminated sections and is a step up in difficulty. For the approaches, a ramp needs real length to feel safe, so on most gardens a short flight of steps with a rise of about 150 mm and a generous tread is the more practical answer.
Where the beams land, use a solid bearing: a sleeper bedded on compacted hardcore, or a concrete pad. Do not simply rest the beams on loose fill or bare topsoil. Leave the ends ventilated rather than buried, so water drains away and air can reach the timber.
A workable small-bridge build-up is two main beams running the length of the span, cross joists at 400 to 600 mm centres, and decking boards running in the direction of travel, each board screwed to every joist it crosses. Leave a 5 to 8 mm gap between boards for drainage and air movement, and a small gap at butt joints where boards meet end to end.
Predrill near board ends to stop splitting, use two screws per board at each joist, and stagger the butt joints across the width so no two joints line up. Start from one edge, keep the first board straight, and check the gap with an offcut as you go rather than trusting your eye.
Run through this list the evening before you start work. Clear span measured at deck level, with bearings added. High-water line noted, with clearance beneath the deck. Beam ends landing on firm, drained ground. Width chosen for the traffic it will carry. Railing height and gaps decided, with local rules checked. Fixings in hand, all of them corrosion-resistant. If any of those is vague, sort it out first; the building goes quickly once the thinking is done.
Photo: ArtisticOperations / Pixabay